How to Use Remaker AI: Beginner Tutorial for AI Images and Videos
Generative AI has compressed what was once specialized creative work — image generation, photo restoration, face swapping, video animation — into tools any beginner can use within minutes. Among the accessible platforms leading this shift, Remaker AI offers one of the gentlest learning curves in the AI tool landscape, with a browser-based interface that requires no install, no technical setup, and no design background.
This beginner tutorial walks through exactly how to use Remaker AI for both AI images and AI videos, starting from opening the platform and ending with downloading polished outputs ready for social media, blog posts, or commercial work. Along the way, we cover practical tips for better results, common mistakes to avoid, and the broader context that connects everyday AI tool use to the larger AI infrastructure ecosystem.
What You Can Do With Remaker AI
Before diving into the workflow, it helps to understand the full range of capabilities the platform offers. Remaker AI supports several core feature categories:
AI Image Generation — convert text prompts into images across photorealistic, anime, 3D render, oil painting, cyberpunk, watercolor, and dozens of other visual styles. Useful for blog headers, social posts, thumbnails, and concept art.
AI Video Generation — create short video clips from text prompts (text-to-video) or animate existing images (image-to-video). Useful for short-form social content, explainer animations, and ambient backgrounds.
Face Swap — swap faces between photos for entertainment, creative composition, or marketing visuals. The face swap feature is among Remaker's most viral tools.
Background Remover — automatically isolate subjects from backgrounds, useful for product photography, profile pictures, and design work.
Photo Enhancement — upscale low-resolution images, restore damaged or old photographs, and improve image clarity for print or premium digital use.
AI Headshots — generate professional-looking headshots from input photos, suitable for LinkedIn profiles, corporate use, and personal branding.
This combination makes Remaker more of a comprehensive visual content suite than a single-purpose generator, and a beginner can learn the entire toolkit in a single afternoon.
How to Open Remaker AI
Opening Remaker AI takes literally one step. Navigate your browser to remaker.ai. Use any modern browser — Chrome, Safari, Firefox, or Edge — on either desktop or mobile.
A few practical notes for first-time access:
Verify the Domain — type the URL directly rather than clicking on advertisements in search results, which sometimes lead to lookalike domains. The legitimate domain is remaker.ai, and the connection should display HTTPS encryption with a padlock icon in the address bar.
Account Creation Is Optional for Basic Use — many features work without registration. Creating an account unlocks saved galleries, higher-quality outputs, and access to credit-based premium features.
Bookmark for Quick Access — once you confirm the legitimate URL, save it as a browser bookmark or add it to your mobile home screen for app-like access.
Mobile Works Equally Well — the platform is fully responsive on mobile browsers, with no functionality loss compared to desktop. For users without a mobile app, the web experience is the official mobile experience.
How to Choose the Right Tool
Once on the platform, the homepage typically presents the available tools as a grid or menu. Choosing the right tool depends entirely on your input and goal:
Use AI Image Generator when you want to create something from scratch using only a text description. Best for original concepts, atmospheric visuals, and content where you don't have a starting image.
Use AI Video Generator when you need motion content. Choose text-to-video for fully generated scenes and image-to-video when you have a starting image you want to animate.
Use Face Swap when you have two photos and want to replace the face in one with the face from another. Common for entertainment, creative composition, and visual effects.
Use Background Remover when you have a photo with a subject you want to isolate. Faster and cheaper than Photoshop for most cases.
Use Photo Enhancer when you have an existing image that's low-resolution, blurry, or damaged. Particularly valuable for restoring old family photos or upscaling stock imagery for print.
Use AI Headshots when you need professional portrait imagery from casual selfies. Useful for LinkedIn, corporate bios, and personal branding contexts.
The right tool is almost always the one whose input most closely matches what you have available. If you have a text idea, use generation. If you have an image, use enhancement, animation, or modification.
How to Upload Images
For tools that require image input — face swap, background removal, photo enhancement, image-to-video — the upload process follows a consistent pattern.
Step 1: Click or tap the upload area in the chosen tool's interface. This typically opens your device's file selector.
Step 2: Select an image from your device. Most tools accept common formats including JPG, PNG, and WEBP. Some tools support HEIC from iPhones, though converting to JPG first ensures broad compatibility.
Step 3: Wait for the upload to complete. Larger files take longer, and stable internet connections produce more reliable uploads. Most tools display a progress indicator.
Step 4: Confirm the preview displays correctly. If the image appears rotated, blurry, or otherwise wrong, replace it before generating to avoid wasting credits on a flawed input.
A few practical tips for better uploads:
Higher resolution source images generally produce better outputs, particularly for face swap and upscaling. Photos with even lighting, sharp focus, and clear subject framing produce dramatically better results than poorly lit or blurry source material.
For face-related tools, frontal portraits with the face clearly visible work better than profile shots, group photos, or images where faces are partially obscured.
Compress very large files before upload — files over 10 MB sometimes cause upload errors, and downscaling slightly using a tool like TinyPNG often improves reliability without quality loss.
How to Write Effective Prompts
Prompt quality is the single biggest determinant of generation output. A good prompt follows a structural pattern that experienced users converge on across all major AI image tools, including Midjourney, DALL·E, and Remaker.
The Structural Pattern: Subject + Environment + Lighting + Style Reference + Technical Descriptors
A weak prompt: "a woman."
A strong prompt: "Professional headshot of a young Asian woman with shoulder-length black hair, wearing a navy blazer, standing in a modern office with floor-to-ceiling windows, soft afternoon lighting through the windows, photorealistic, shot on 85mm lens, shallow depth of field, ultra-detailed."
The strong prompt specifies who, where, how it's lit, what style aesthetic, and what technical attributes. The model has clear direction at every level rather than having to guess.
Practical Prompt-Writing Tips:
Use descriptive adjectives liberally — "soft," "harsh," "dramatic," "serene," "vibrant," "muted" all give the model meaningful direction.
Reference style explicitly — "in the style of Studio Ghibli," "Wes Anderson aesthetic," "Renaissance oil painting," "Bauhaus design." Stylistic references shortcut a lot of detail.
Specify technical attributes — "shallow depth of field," "wide angle," "macro lens," "drone shot," "long exposure" all communicate camera and rendering intent.
Use negative prompts when supported — specifying what you don't want ("no text, no watermarks, no extra fingers") sometimes helps as much as specifying what you do want.
Iterate rather than expecting perfection on the first try. Generate, evaluate, refine the prompt, generate again. Five iterations of a good prompt almost always beat one heroic attempt at a perfect prompt.
For inspiration and learning, browse public prompt libraries on PromptHero and Lexica, which display thousands of prompts alongside their outputs.
How to Generate Results
After uploading inputs and writing prompts, generation itself is straightforward.
Click Generate — typically a prominent button at the bottom of the tool interface. The platform queues your request and begins processing.
Wait for Processing — generation time depends on the tool, the complexity of the operation, and the current platform load. Image generation typically takes 5–30 seconds. Video generation typically takes 30 seconds to several minutes. Face swap and background removal usually complete in under 30 seconds.
Review Outputs — most tools generate multiple variants per request, allowing you to choose the strongest result. Compare them carefully before downloading or iterating.
Iterate If Needed — if no output meets your needs, refine the prompt, adjust the style settings, or try a different source image. Each iteration teaches you more about how the model responds, accelerating future workflows.
A practical workflow tip: keep a notes file or document of prompts that produced particularly strong results. Over time, this personal prompt library becomes one of your most valuable creative assets.
How to Download Your Content
Once you have an output you're satisfied with, downloading it is typically a single click or tap.
On Desktop: Right-click the output and select "Save Image As" or use the platform's dedicated download button. Files save to your default download location.
On Mobile: Long-press the output and select "Save to Photos" or use the dedicated download button. Files save to your camera roll.
Resolution Matters: free tier outputs are often limited to standard resolution. If you need 4K or original resolution for print or premium digital use, this typically requires a paid plan. Check the available output resolutions before relying on free outputs for high-stakes work.
File Formats: most outputs are PNG or JPG. PNG preserves transparency (useful for outputs from background removal); JPG produces smaller files (useful for social media uploads). Some tools allow you to choose the format.
Watermarks: free tier outputs may include platform watermarks. Paid tiers typically remove watermarks, which is essential for any commercial or professional use.
After downloading, your generated content can flow into any standard editing workflow. Common downstream tools include Photopea (free Photoshop alternative), Canva (template-based design), Figma (design and prototyping), and CapCut (video editing).
Tips for Better Output
A handful of higher-leverage tips that separate intermediate users from beginners:
Use Reference Images When Possible — image-to-image and image-to-video workflows produce more controlled outputs than text-only generation. If you can sketch, photograph, or find a reference, use it as input rather than describing from scratch.
Generate Multiple Variants — request several outputs per prompt and select the strongest. The variance between AI outputs from a single prompt is significant, and the difference between "best of one" and "best of four" is usually substantial.
Specify Resolution and Aspect Ratio — different platforms reward different aspect ratios. Generate at 9:16 for TikTok and Instagram Reels, 16:9 for YouTube thumbnails, 1:1 for Instagram feed posts, and 4:5 for Instagram portrait posts.
Match Style to Use Case — photorealistic for marketing and editorial, 3D render for tech and finance, anime for community content, watercolor for storytelling, minimalist flat design for explainers.
Iterate in Small Steps — change one variable at a time when refining prompts. If you change subject, lighting, and style simultaneously between iterations, you can't tell which change moved the output in the right direction.
Save Strong Prompts — your prompt library accumulates value over time. A prompt that produces excellent thumbnails this week will likely produce excellent thumbnails next week.
Combine Tools — generate an image, upscale it, animate it, and add a swapped face. Multi-tool workflows compound into outputs no single tool produces alone.
Common Mistakes Beginners Make
A few patterns to watch for and avoid:
Vague Prompts — "make a cool image" produces generic outputs. Specificity is the cost of entry to good results.
Unrealistic Expectations on First Try — first generations rarely match the user's mental image perfectly. Iteration is the workflow, not the exception.
Ignoring Style Selection — using the default style for every generation produces visually inconsistent content. Choose the style deliberately for each use case.
Uploading Low-Quality Source Images — face swap, upscaling, and background removal all depend heavily on source quality. A blurry input produces a blurry output, no matter how good the AI.
Skipping Watermark Awareness — distributing watermarked content commercially looks unprofessional. Verify watermark status before deploying outputs in client work or paid campaigns.
Forgetting to Disclose AI Usage — major platforms including YouTube and Meta require AI-content disclosure. Failing to disclose can affect both content reach and audience trust.
Treating AI as a Replacement for Editorial Judgment — AI generates raw material; you provide curation, sequencing, and narrative. Users who treat AI outputs as final products without editorial oversight tend to produce undifferentiated work.
Not Verifying Privacy Policies for Sensitive Uploads — before uploading personal images, particularly facial photos or images of others, review the platform's data retention and training-data practices.
Frequently Asked Questions
Do I need an account to use Remaker AI? Many features work without registration. Creating an account unlocks saved galleries, higher-quality outputs, and access to credit-based premium features. For full functionality, an account is recommended.
Is Remaker AI free for beginners? Remaker AI offers a substantial free tier covering most beginner use cases, with paid tiers unlocking higher resolution, watermark removal, and larger generation volumes.
Can I use Remaker AI on my phone? Yes, the web interface works fully in mobile browsers on both iOS and Android. No app installation is required.
How long does generation take? Image generation typically takes 5–30 seconds. Video generation can take from 30 seconds to several minutes. Face swap and background removal usually complete within 30 seconds.
Why did my generation fail? Common causes include unstable internet connections, oversized input files, prompts that violate content policies, and platform load during peak periods. Retry, simplify the prompt, or try a smaller input file.
Can I use my outputs commercially? Commercial usage rights depend on the platform's terms of service and usually require a paid plan. Always verify current terms directly on the Remaker AI website before commercial deployment.
Where can I learn more advanced AI techniques? Public prompt libraries like PromptHero and Lexica offer thousands of example prompts. Communities on Reddit and Discord host active discussions on prompt engineering and AI workflows.
Conclusion
Learning how to use Remaker AI is genuinely a one-afternoon project. The platform's interface design lowers the barrier to entry to almost zero, and within a few hours of practice, beginners can produce outputs that match what professional designers were creating with much more effort just a few years ago.
The bigger picture worth keeping in mind as you build AI tool fluency is the structural reality underneath the convenience. Every image you generate, every video you animate, every face you swap runs on real GPU compute in real data centers. The cost and capability of the tools you use are downstream of the broader AI infrastructure ecosystem — including the decentralized compute networks, AI agent protocols, and content provenance systems that increasingly define the AI sector's economic and technical foundation.
For users who want exposure to the broader narrative beyond just consuming AI tools, the AI infrastructure stack trades publicly through tokens listed on platforms like MEXC's AI markets, covering decentralized compute (Render, Akash, io.net, Aethir), AI networks (Bittensor, Fetch.ai), and emerging AI agent and content provenance projects. Understanding this layer is what separates casual AI tool users from participants who recognize the full stack of value being built across the AI economy.
Start with the basics — open the platform, choose a tool, write a prompt, generate, iterate — and let the deeper understanding accumulate naturally as your daily creative work intersects with the broader AI ecosystem unfolding around you.


Ayrıca Şunları da Beğenebilirsiniz

68% of global BTC miners came from the U.S., Russia, and China, Q1 2026
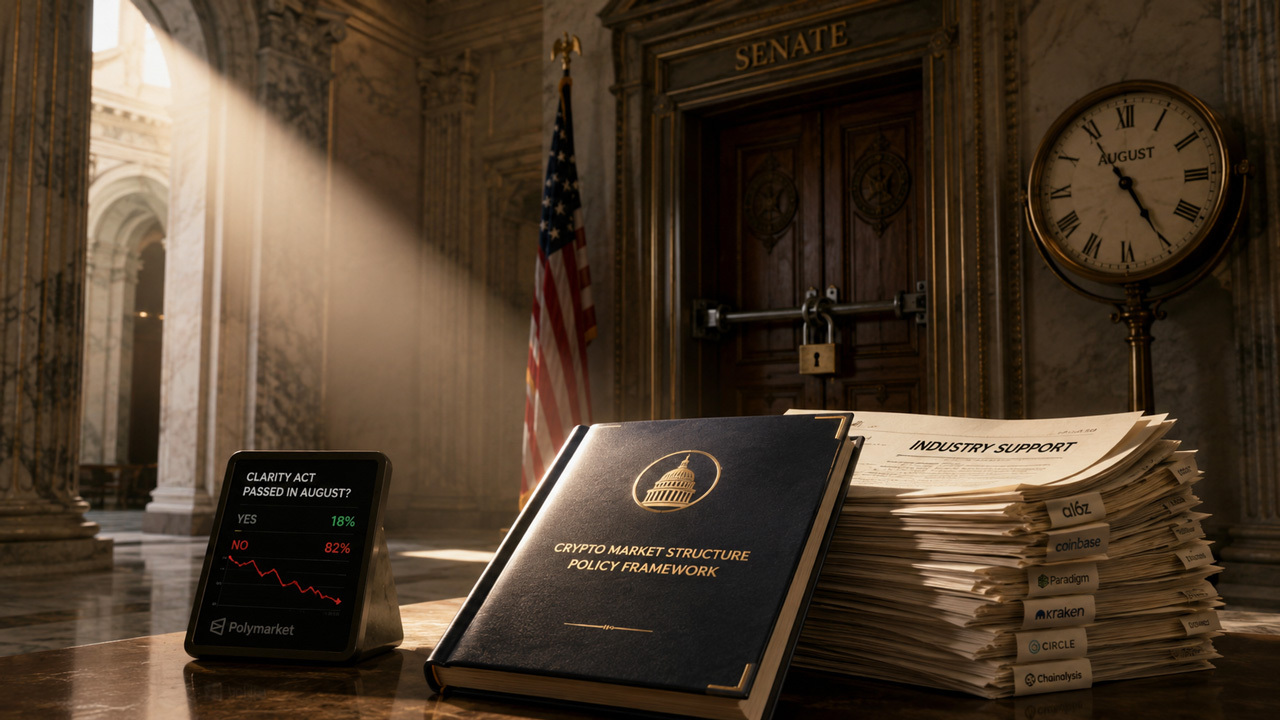
Crypto’s CLARITY push heats up, but prediction markets aren’t buying the August deadline
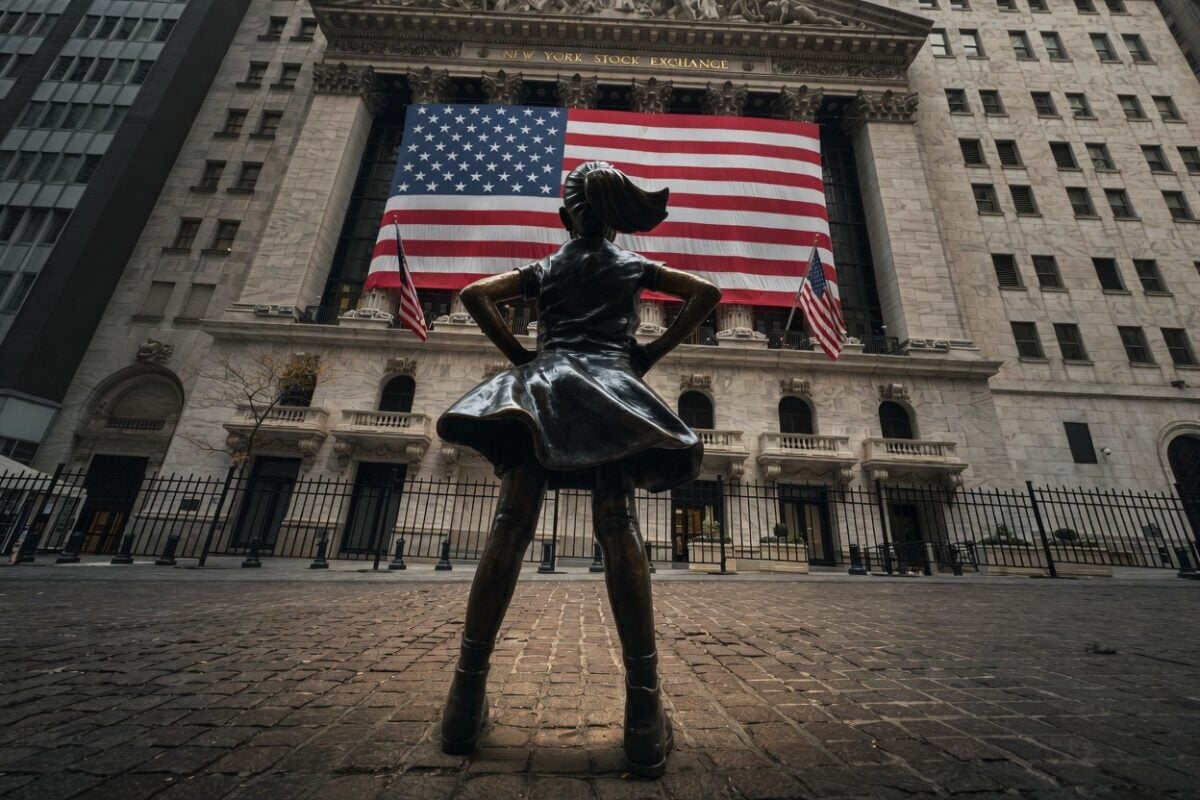
Today’s Market Movers: Marvell, Micron, and Qualcomm Gain as AI Trade Rebounds Tuesday

Popüler Haberler
Daha fazla