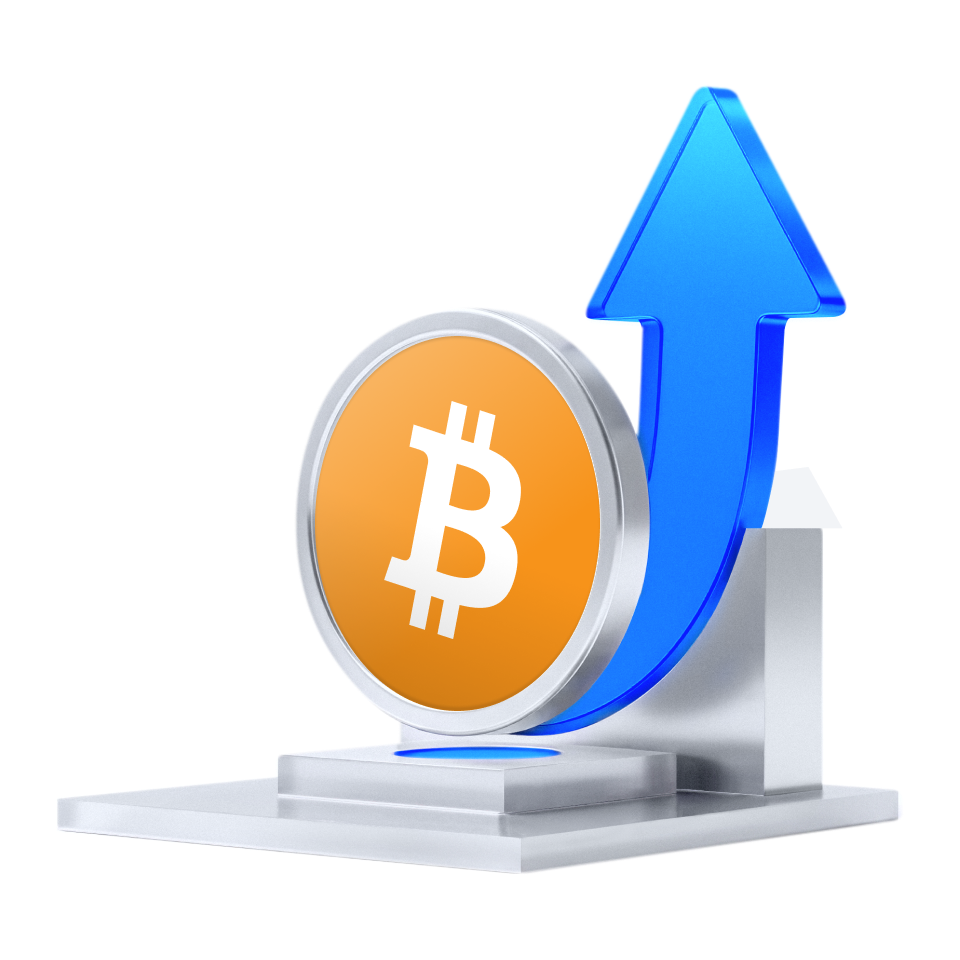
Santiment shows that XRP has rebounded approximately 5.3% from its lows over the past 48 hours. The number of medium- to large-scale wallets holding 10,000 or more XRP has reached a new all-time high of 317,500, an increase of approximately 1.8% in just 30 days. This indicates a surge in buying on dips and long-term allocations. Fundamentally, Ripple acquired GTreasury for $1 billion and plans to establish an XRP treasury, further bolstering institutional adoption and treasury infrastructure.
In volatile markets, Arc Miner’s XRP cloud mining offers holders a passive income channel with zero hardware, low barriers to entry, and daily settlement, making it a suitable supplemental strategy for those looking to invest in the XRP ecosystem.
Why XRP Holders Prefer Arc Miner
While BTC and ETH continue to dominate ETF headlines, XRP’s usage and trading ecosystem are booming. Astute investors know that hype is only a short-term trend; sustainable returns are the real opportunity. Arc Miner uses AI computing power to drive cloud mining, allowing you to safely and sustainably generate daily income from your idle assets using just a phone or computer.
How to start earning XRP?
1: Visit the Arc Miner website and create an account — automatically receive a $15 bonus.
2: Securely connect your digital wallet — complete the deposit and withdrawal setup.
3: Choose a mining contract that suits your budget and duration
4: Start mining — your earnings are paid daily
5: Promotional incentives: Affiliate program with the highest bonus (3% + 2%), referral commissions, and a generous bonus pool
Arc Miner Contract Options
⦁ [Free Mining Contract] Principal: $15, 1-day term, total return: $15.6
⦁ [Trial Contract] Principal: $100, 2-day term, total return: $107.4
⦁ [Classic Mining Contract] Principal: $500, 6-day term, total return: $540.5
⦁ [Classic Mining Contract] Principal: $2,500, 20-day term, total return: $3,225
⦁ [Premium Mining Contract] Principal: $10,000, 40-day term, total return: $16,560
⦁ [Super Mining Contract] Principal: $100,000, 50-day term, total return: $205,500
For example: Invest $10,000 to purchase a $10,000 contract in the [Advanced Mining Contract] with a 40-day term and a daily yield of 1.64%.
After successfully purchasing, the user will receive a stable daily yield of $10,000 x 1.64% = $164.
After 40 days, the user’s principal + yield is: $10,000 + $164 x 40 days = $10,000 + $6,560 = $16,560.
(The platform offers a variety of secure, stable, and efficient yielding contracts; please view them on the Arc Miner official website’s contract page.)
Arc Miner Advantages!
1: Global Presence: Arc Miner has deployed computing centers in over 70 regions, operating safely and stably for over 6 years.
2: Green Energy: Powered by 100% renewable energy, setting a new standard for environmentally friendly mining.
3: Bank-Grade Security: SSL encryption and cold wallet storage provide comprehensive asset protection.
4: Compliance Guarantee: Headquartered in the UK, Arc Miner holds legal registration and compliance qualifications.
5: Stable Returns: Fixed contracts, transparent fees, and a low barrier to entry.
6: Ultra-Fast Service: 24/7 customer support with a quick response within 3 minutes.
7: Multi-Currency Compatibility: Supports deposits and withdrawals in major cryptocurrencies such as BTC, ETH, XRP, DOGE, LTC, USDT, SOL, and BNB.
Conclusion:
Arc Miner has matured and become the preferred choice for XRP holders seeking stable, long-term cash flow. Its secure, sustainable, and transparent offerings provide not only profits but also peace of mind. Act now to generate daily cash flow from your XRP.
⦁Official Website: https://arcminer.com/
⦁Contact Email: [email protected]
⦁Download the iOS and Android mobile apps
Source: https://finbold.com/xrp-recovers-and-its-holdings-strengthen-with-arc-miner-providing-a-robust-path-for-gains/