Ledger ushers in a new era in cryptocurrency custody and management with Ledger Nano Gen5, the latest evolution of its historic hardware wallet. Unveiled in Paris during the Ledger Op3n event, the device marks a turning point in how users protect and manage their digital assets and online identity.
Key Points
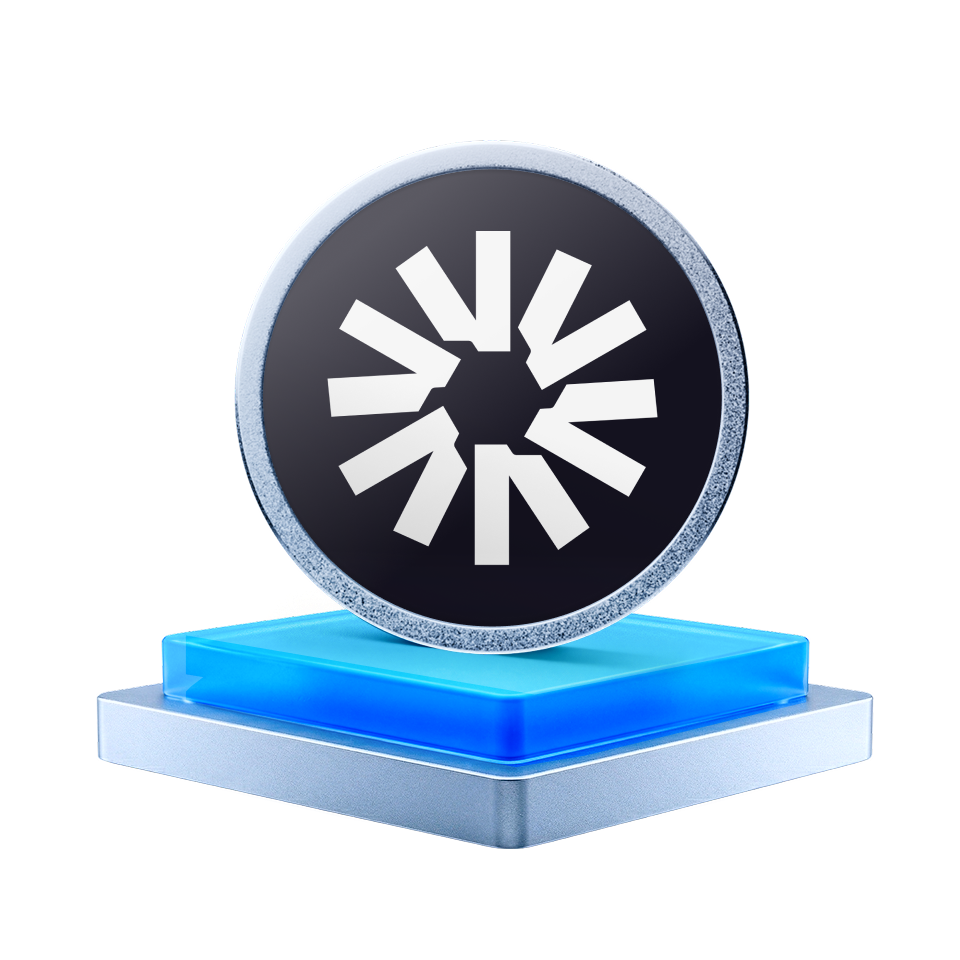
- Ledger presents the new Ledger Nano Gen5, an evolution of the renowned hardware wallet.
- The new Ledger Wallet is also born, the new app to manage and use crypto securely.
- Focus on security, digital identity, and usability.
- Bluetooth, NFC, E Ink display, and “Clear Signing” among the new features.
- Integration with DeFi, dApp, and services for stablecoin.
From hardware wallet to “signer”: the evolution of the security concept
With the Ledger Nano Gen5, the French company redefines the very concept of hardware wallet. Today, its devices no longer merely store private keys but become “signers”, cryptographic signing tools designed to ensure authenticity and ownership in the digital world.
The goal is to anticipate an increasingly interconnected society, where artificial intelligence and digital identities make the verification of what is authentic crucial. Ledger therefore wants to move from simple “Proof of Ownership” to the concept of “Proof of You” — the proof of digital personal identity.
Ledger Nano Gen5: design, security, and innovation
The new Ledger Nano Gen5 is the most powerful device ever made by the company. Equipped with Bluetooth® 5.2 and NFC, it allows signing transactions even on the go and using the new Ledger Security Key feature, based on FIDO2 standards to protect digital access and logins.
Among the main technical features:
- Monochrome E Ink® Screen 2.76″, always on and low power consumption.
- Capacitive touchscreen for smooth and secure navigation.
- Secure element EAL6+ certified, the same level used in banking systems.
- Ledger Recovery Key included, for an encrypted backup of one’s assets.
The “Clear Signing” interface allows you to clearly view each transaction before signing it, reducing the risks of phishing or data manipulation.
Ledger Wallet: the new app to manage digital assets and identities
Alongside the launch of the hardware wallet, Ledger has completely redesigned its app Ledger Live, now renamed Ledger Wallet.
It is no longer just a portfolio manager, but a true control hub for one’s digital assets.
Through Ledger Wallet it is possible to:
- Buy, sell, trade, and earn with your crypto in complete security.
- Connect directly to major dApp and DeFi platforms, such as 1inch.
- Make immediate fiat top-ups thanks to the integration with Noah, converting euros or dollars into USDC stablecoin without additional fees.
Together, Ledger Nano Gen5 and Ledger Wallet form a complete ecosystem: a mix of hardware, software, and cryptographic security designed for the daily use of cryptocurrencies.
Design Collaborations: Technology Meets Art
The visual aspect of the new Nano is signed by Susan Kare, the designer who created the original Macintosh icons.
Together with Tony Fadell, inventor of the iPod and member of the Ledger board, he has helped make the device not only secure but also enjoyable to use and customize, with exclusive digital badges that combine technology and creativity.
An ecosystem for individuals and institutions
Ledger does not stop at the consumer market. During the Paris event, Ledger Enterprise Multisig was also presented, a solution designed for companies, banks, and crypto funds.
Each transaction is verifiably signed on-device, ensuring transparency and traceability — crucial characteristics for institutional custody of large capitals.
With over 8 million devices sold and more than 20% of the world’s crypto assets stored on Ledger, the company thus strengthens its leadership in the digital security sector.
Analysis: A Paradigm Shift in the Concept of Hardware Wallets
The Ledger Nano Gen5 marks the transition from the traditional hardware wallet to the universal digital security device.
Its architecture, combined with the new Ledger Wallet app, aims to unify crypto custody, digital identity, and online credential protection into a single tool.
In a context where hacker attacks and online scams continue to grow — with over 14 billion dollars stolen or lost in 2023 — Ledger’s promise is clear: make security accessible, without compromise.
The combination of usability, security certifications, and new authentication features makes the Gen5 not just a technical upgrade, but a generational leap in how we conceive digital ownership.
Source: https://en.cryptonomist.ch/2025/10/23/ledger-nano-gen5-the-new-generation-of-hardware-wallets-for-crypto-and-digital-security/